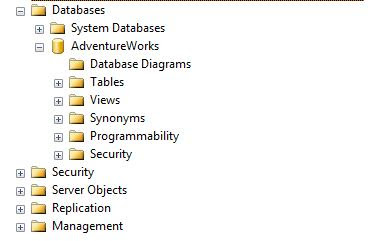
1) In SQL Server Management Studio, expand your database folder (in this example I'm using the AdventureWorks database.) You should see a folder called Database Diagrams.
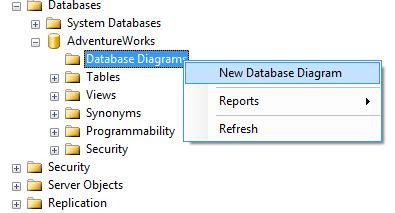
2) Right click on the Database Diagram folder and select New Database Diagram.
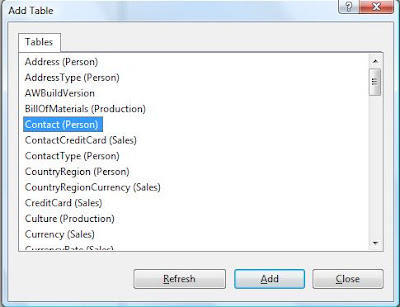
3) In the Add Table window select the table(s) you want to include in your Entity Relationship diagram. To keep this example simple, I will only select the Contact table. Then, click on the Add button.
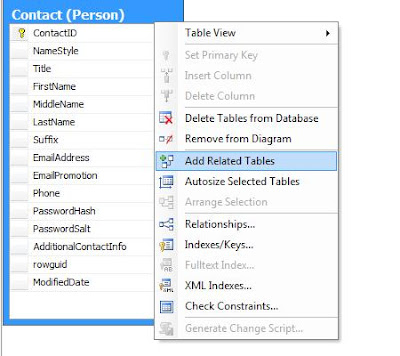
4) A new Database Diagram is created with the table(s) you selected. In my example, the Contact table was added to the diagram. In order to see all tables that are related to the selected table as well as the relationships to those tables, just right click on the table and select Add Related Tables.
5) As you can see, all the related tables are added to the database diagram.
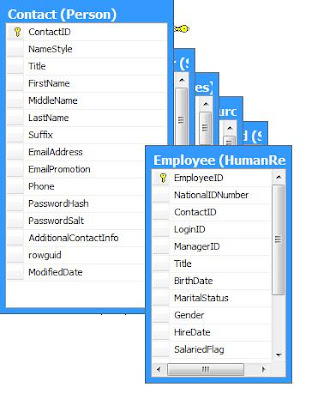
6) Now, click and drag on the header of each table and you will notice the relationships between the tables have been added to the diagram as well.
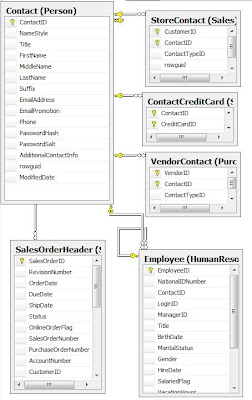
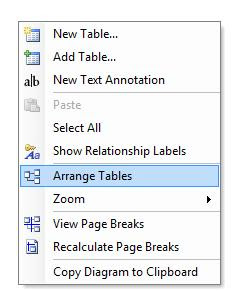
7) You can either rearrange the tables yourself, or you can let the tool rearrange the tables. Just right click anywhere on the diagram and select Arrange Tables.
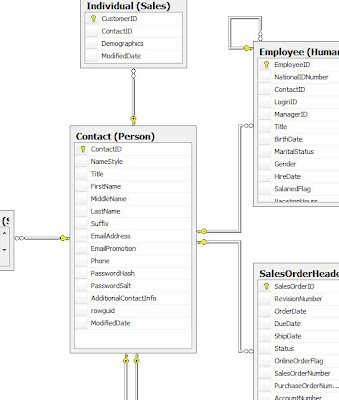
8) This is what the database diagram looks like after the tables have been arranged.

No comments:
Post a Comment